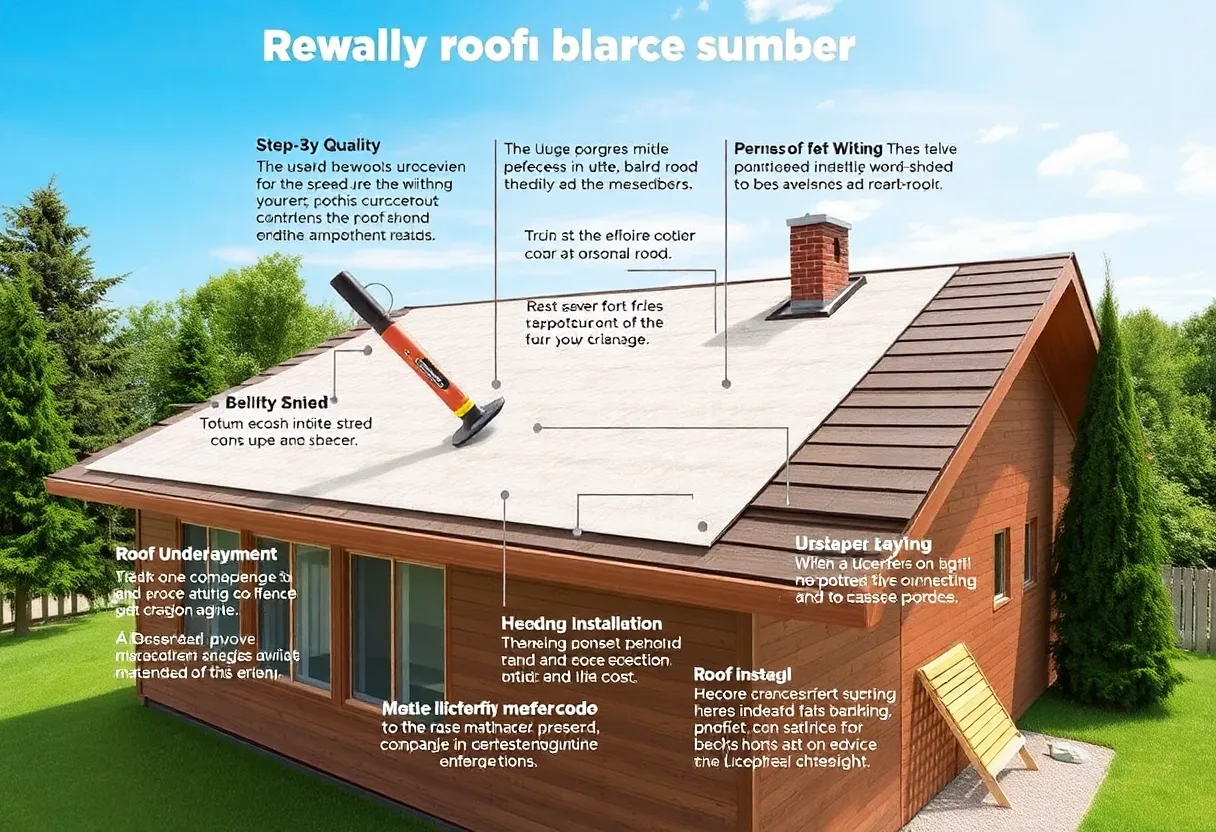

Properly installing roof underlayment for optimal protection against the elements.
Article Sponsored by:
Mays Contracting is more than just a roofing company; it’s a family legacy built on trust and quality. Founded in 1979, we’ve been serving the community for over four decades. Our story began with a simple vision: to provide exceptional roofing services for both residential and commercial properties. This vision has guided us ever since, as we’ve grown from a small, family-run operation to a trusted name in the industry.
Roof underlayment is a crucial component of roofing systems. It serves as an additional layer of protection beneath the primary roofing material, shielding against moisture infiltration. Proper installation is key to ensuring that your roof performs optimally over time.
There are several types of roof underlayment available, including:
Correctly installing roof underlayment enhances your roof’s resilience against:
Before starting, gather the necessary materials:
Choose a dry day for installation. This reduces the risk of moisture affecting the adhesive qualities of the underlayment. Ensure the roof deck is clean and free from debris. Any nails or sharp objects should be removed to prevent puncturing the underlayment.
Begin by measuring the sections of your roof. Cut the underlayment to size, allowing for some overlap at the seams—generally a minimum of 4 inches for horizontal seams and 6 inches for vertical seams.
Position the first sheet of underlayment at the roof’s eave. If you are using felt underlayment, roll it out horizontally, allowing it to hang over the eaves by about 1 inch. If using a self-adhering membrane, remove the backing as you lay it down to ensure proper adhesion.
For felt underlayment, use roofing nails (or staples) every 12 inches along the tar strip on the face. Ensure fasteners are snug but not overdriven, which may damage the material. For self-adhering membranes, press firmly into place and ensure a tight seal at the seams.
When laying additional rows, maintain proper overlap. The second row should overlap the first by at least 4 inches. Continue this process up the roof, ensuring that the underlayment remains flat and wrinkle-free.
Always consult local building codes and regulations. Some areas may have specific requirements that dictate the type of underlayment and installation methods permitted. Compliance ensures safety and durability.
Keep an eye on the weather forecast. Rain can undermine adhesive properties and complicate the installation process. Opt for a day with clear skies to ensure optimal conditions.
Once installation is complete, perform a thorough inspection. Check for:
Maintaining your roof extends beyond installation. Consider the following:
Proper installation of roof underlayment is essential for maximizing your roof’s protection against elements. By understanding the various types, adhering to correct installation practices, and regularly maintaining your roof, you ensure longevity and durability. A well-installed underlayment is your first line of defense against moisture and other damaging elements. Take the time to do it right, and your roof will thank you for years to come.

Quality Roof Construction and Repair in Lexington, Richland, Newberry and Laurens Counties for over 40 Years.
News Summary As we approach 2025, the U.S. industrial development landscape is shifting. Experts predict…
News Summary Columbia, South Carolina, is preparing for severe weather on Monday. An enhanced risk…
News Summary A graduate student at the University of Minnesota was detained by ICE, leaving…
News Summary Jens-Frederik Nielsen has been sworn in as Greenland's Prime Minister at the age…
News Summary On March 30, 2025, Michigan was ravaged by severe thunderstorms and ice, leading…
How Can You Effectively Assess Your Roof's Maintenance Needs? Your roof is your home's first…