How to Successfully Install a Roof Access Hatch: A Step-by-Step Guide for Homeowners
Installing a roof access hatch can be an essential improvement for your home, especially if regular access to your roof is required for maintenance or inspection. This guide outlines a clear, methodical approach to help homeowners install a roof access hatch effectively. Follow these steps to avoid common pitfalls and ensure a professional finish.
Understanding the Importance of a Roof Access Hatch
A roof access hatch serves multiple functions, including facilitating roof inspections, repairs, and ensuring compliance with safety regulations. Here are several reasons to keep in mind:
- Enhances accessibility: Provides a convenient entry point for maintenance personnel.
- Improves ventilation: Allows for better airflow in attics or roof spaces.
- Increases safety: Reduces the need for ladders, minimizing risk during maintenance tasks.
Choosing the Right Location for Your Hatch
Selecting the optimal location for your roof access hatch is critical. Here are several factors to consider:
- Proximity to utilities: Ensure the hatch does not interfere with existing utilities or structures.
- Structural integrity: Examine the strength of the roof deck in the proposed location.
- Accessibility: Choose an area that allows easy access without obstructions.
Gather Necessary Materials and Tools
Before beginning the installation, gather all necessary tools and materials to ensure efficiency. Here’s what you might need:
- Tools: Screwdriver, power drill, saw, measuring tape, level, safety goggles, and hammer.
- Materials: Roof access hatch kit, flashing, sealant, and appropriate roofing materials for repairs.
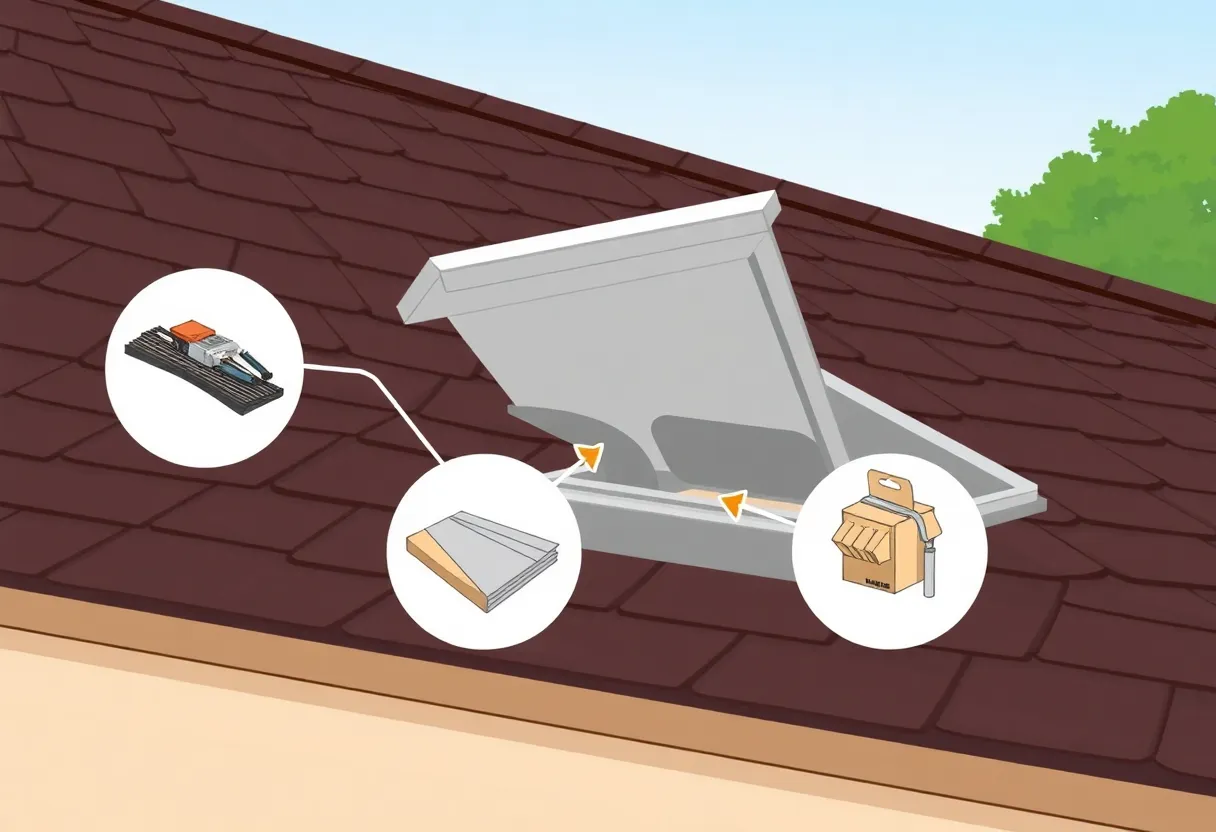
Step-by-Step Installation Guide
Step 1: Measure and Mark the Area
Begin by measuring the dimensions of the hatch. Ensure that it fits the size specifications provided in the manufacturer’s instructions. Mark the area on the roof where you will cut.
Step 2: Prepare the Roofing Material
Using a power saw, carefully cut through the roofing material in the designated area. Remove any shingles, tarpaper, or other covering to expose the decking beneath.
Step 3: Strengthen the Opening
To ensure the structural integrity of the roof, install additional support around the opening. Use plywood or lumber to create a frame that reinforces the edges.
Step 4: Install the Hatch Frame
Position the hatch frame into the cut opening. Make sure it is level and square. This step is crucial for ensuring that the hatch operates smoothly.
Step 5: Secure the Hatch
Fasten the hatch frame to the roof deck using screws. Follow the manufacturer’s guidelines for the appropriate number and spacing of screws to ensure a secure installation.
Step 6: Apply Flashing
Install roofing flashing around the hatch to divert water away, preventing leaks. Seal the edges with a high-quality roof sealant to further enhance waterproofing.
Step 7: Test the Hatch
Close and open the hatch several times to ensure smooth operation. Check for any gaps or leaks around the edges and apply additional sealant if necessary.
Final Steps and Considerations
Inspections and Safety Checks
Once the installation is complete, conduct a thorough inspection. Check all seals, test the hatch, and ensure that there are no significant gaps. Safety should be your priority.
Regular Maintenance
Once your roof access hatch is installed, regular maintenance is essential. Periodically inspect the hatch and surrounding area, ensuring it remains watertight and functional. Clean any debris that might accumulate around the hatch to ensure safe access.
Consult a Professional
If you encounter challenges during installation or feel uncertain about your ability to complete the project, consult with a roofing professional. They can provide insight and assistance as needed.
Conclusion
By following this step-by-step guide, homeowners can successfully install a roof access hatch that provides safe and reliable access to their roofs. Careful planning, attention to detail, and a commitment to safety are essential throughout this process. Ensuring a proper installation will not only ease maintenance tasks but also enhance the overall functionality of your roofing system.
With the right tools, materials, and mindset, adding a roof access hatch to your home contributes to improved accessibility and greater convenience in maintaining your property.