How to Refresh Your Roof with Stylish Shingles: A DIY Guide
Your roof is more than just a protective covering; it is an essential aspect of your home’s aesthetic appeal. When it’s time for a refresh, opting for stylish shingles can transform not only the look but also the overall value of your property. This guide will walk you through the steps of selecting and installing shingles, along with vital tips to ensure a successful DIY project.
Understanding the Types of Shingles
The first step in refreshing your roof is choosing the right type of shingles. There are various materials available, each with distinct qualities.
Asphalt Shingles
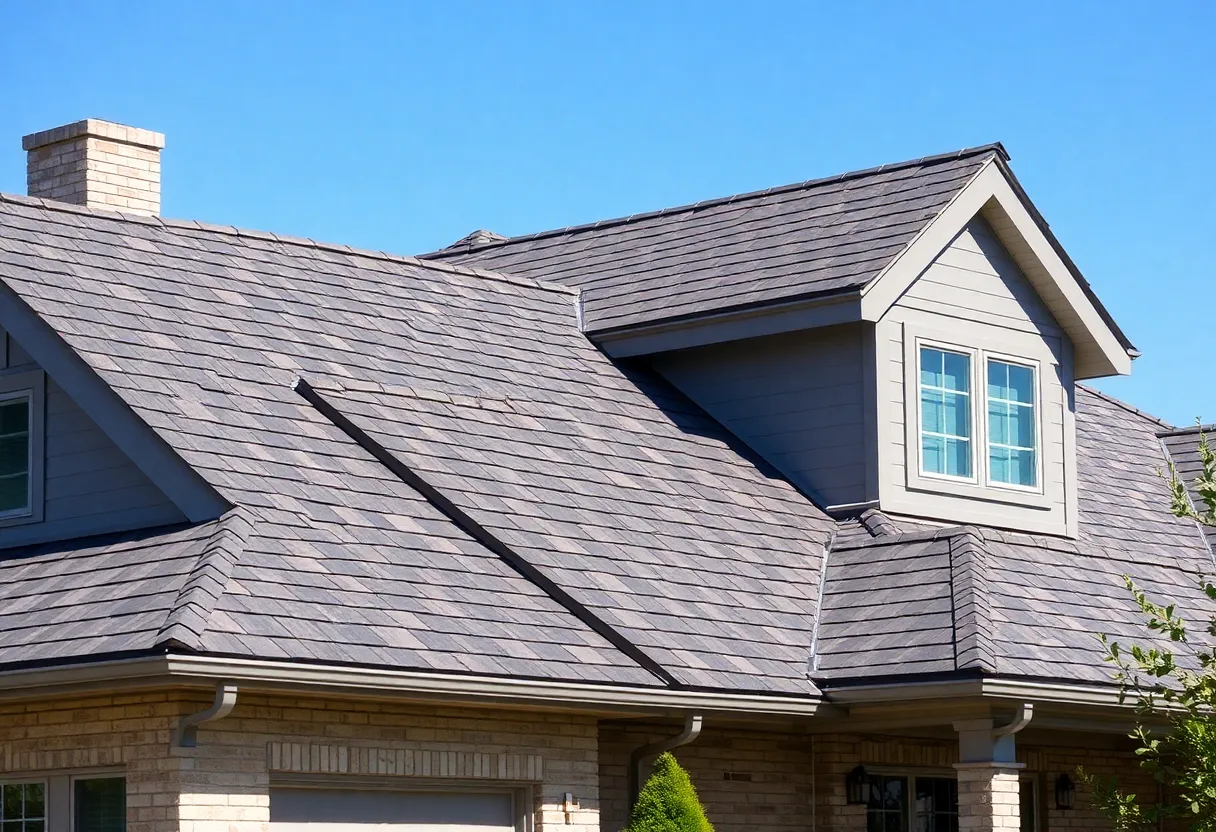
Asphalt shingles are the most common type due to their affordability and ease of installation. They come in various colors and styles, making it easy to match the shingles to your home’s exterior.
Wood Shingles
Wood shingles, often made from cedar, provide a rustic appearance. These shingles require more maintenance than asphalt but can last for decades with proper care.
Metal Roofing
Metal shingles offer modern aesthetics and durability. They reflect heat and can improve your home’s energy efficiency. Metal roofing is more expensive but tends to outlast other materials.
Slate and Tile Shingles
Slate and tile are premium options that lend a distinctive look to any home. Their longevity and resistance to the elements make them worth the investment, although they require specialized installation.
Assessing Your Current Roof Condition
Before you dive into installing new shingles, it is crucial to assess your current roof’s condition. This includes checking for any damage that may need repairs before the new shingles can be laid.
Inspection Steps
- Examine the roof for missing or broken shingles.
- Look for signs of leaks or water damage in the attic.
- Check the flashing around chimneys and vents for wear.
- Inspect for moss or algae growth, which may indicate poor drainage.
Address any significant issues to ensure a solid foundation for your new shingles.
Selecting the Right Style and Color
The aesthetic appeal of your roof can significantly impact your home’s curb appeal. Here’s how to select the right style and color:
Consider Your Home’s Architecture
Your roof’s shingles should complement your home’s architectural style. For example, traditional homes might benefit from classic asphalt or wood shingles, while modern homes might look great with metal or sleek slate options.
Match with Exterior Colors
The color of your shingles should harmonize with your siding and trim. Darker shingles create a dramatic look, while lighter colors can make a roof appear taller.
Explore Textures and Patterns
Shingles come in various textures and patterns, such as smooth, matte, or rough finishes. A textured shingle might add character, whereas a sleek finish may lend an elegant air.
Gathering Tools and Materials
To ensure a smooth installation process, gather the necessary materials and tools:
- New shingles.
- Roofing underlayment.
- Roofing nails or staples.
- Hammer or nail gun.
- Utility knife.
- Safety harness and guardrails (if needed).
- Measuring tape.
- Repair materials (if needed).
Preparing for Installation
Proper preparation is critical to a successful installation. Follow these steps:
Remove Old Shingles
If you are re-roofing, remove the old shingles and assess the roof deck for damage. Replace any rotten or damaged boards.
Install Underlayment
Before laying down the shingles, install a waterproof underlayment. This provides an extra layer of protection against moisture.
Installing Your New Shingles
When ready, follow these general instructions for installing shingles:
Start from the Bottom
Begin at the roof’s edge, working your way up. This ensures that water flows over, rather than into, the seams between shingles.
Use Proper Overlap
Each row of shingles should overlap the previous row by about 5-6 inches, depending on the type of shingles you choose. Check manufacturer specifications for details.
Secure with Nails
Nail each shingle down according to the guidelines provided. Ensure that nails are not too high or too low, as improper placement may lead to leaks.
Install Flashing When Needed
For areas around chimneys or vents, ensure proper flashing is installed. This is vital for keeping water out of potential entry points.
Finishing Touches and Cleanup
Once you’ve finished installing shingles, there are a few final steps:
Trim Excess Shingles
Use a utility knife to trim any excess shingles along the roof edges. Ensure all edges are neat to achieve a polished look.
Inspect the Install
Walk over the newly installed shingles to check for any missing nails or unsecured shingles. Correct any errors before considering the job complete.
Dispose of Old Material
Dispose of any waste responsibly. Many recycling facilities accept old shingles, so look for local options.
Maintaining Your New Roof
Regular maintenance will prolong your roof’s lifespan. Consider these maintenance tips:
Regular Inspections
After installation, inspect your roof annually and after severe weather. Early detection of problems can save costly repairs later.
Clean Gutters and Downspouts
Clogged gutters can lead to water pooling on your roof. Clean out gutters regularly to ensure proper water drainage.
Remove Debris
Regularly check for leaves, branches, or other debris on the roof. This can trap moisture and lead to moss or mold growth.
Conclusion
Refreshing your roof with stylish shingles is an excellent way to enhance your home’s aesthetic appeal and value. With proper planning, the right materials, and attention to detail during installation, you can achieve a roof that not only looks great but also protects your home for years to come. Embrace the DIY challenge and take pride in your home’s renewed appearance.


 Mays Contracting

