How to Safely Patch Small Holes in Your Roof: A DIY Guide for Homeowners
Your roof is a critical component of your home’s structure. Small holes, if left unaddressed, can lead to significant damage and costly repairs. This guide provides step-by-step instructions on how to safely patch small holes in your roof. Knowing the right techniques and materials is essential for maintaining the integrity of your dwelling.
Understanding the Importance of Roof Maintenance
Keeping your roof in good condition is vital for several reasons:
- Preventing leaks: A small hole can lead to larger leaks, allowing moisture to infiltrate your home.
- Energy efficiency: Properly maintained roofs help with insulation, reducing heating and cooling costs.
- Extending lifespan: Routine repairs can extend the life of your roof significantly.
Assessing the Damage
The first step in patching a small hole is to assess the extent of the damage. Begin by following these guidelines:
- Locate the hole: Inspect your roof for any visible holes or cracks.
- Check the surrounding area: Look for signs of water damage or decay in nearby shingles.
- Evaluate the size: Determine if the hole is indeed small (less than a quarter) or larger, which may require professional help.
Gathering Necessary Materials
Once you have assessed the damage, gather the materials required for the repair. You will need:
- Roofing cement: This is essential for sealing small holes.
- Patching material: Options include roofing fabric, shingles, or even metal mesh.
- Tools: A putty knife, brush, and safety gloves are necessary for application.
- Safety gear: Ensure you have a quality ladder and gear to protect yourself while working on the roof.
DIY Patching Procedure
Now that you have everything in place, follow these steps to safely patch small holes in your roof:
Step 1: Safety First
Before climbing onto the roof, prioritize your safety:
- Use a sturdy ladder placed on flat ground.
- Have someone assist you, if possible, to ensure stability.
- Wear non-slip footwear for improved traction.
Step 2: Prepare the Area
Before you begin applying materials, clean the area around the hole:
- Remove any debris, such as leaves or dirt.
- Inspect and remove damaged shingles if necessary.
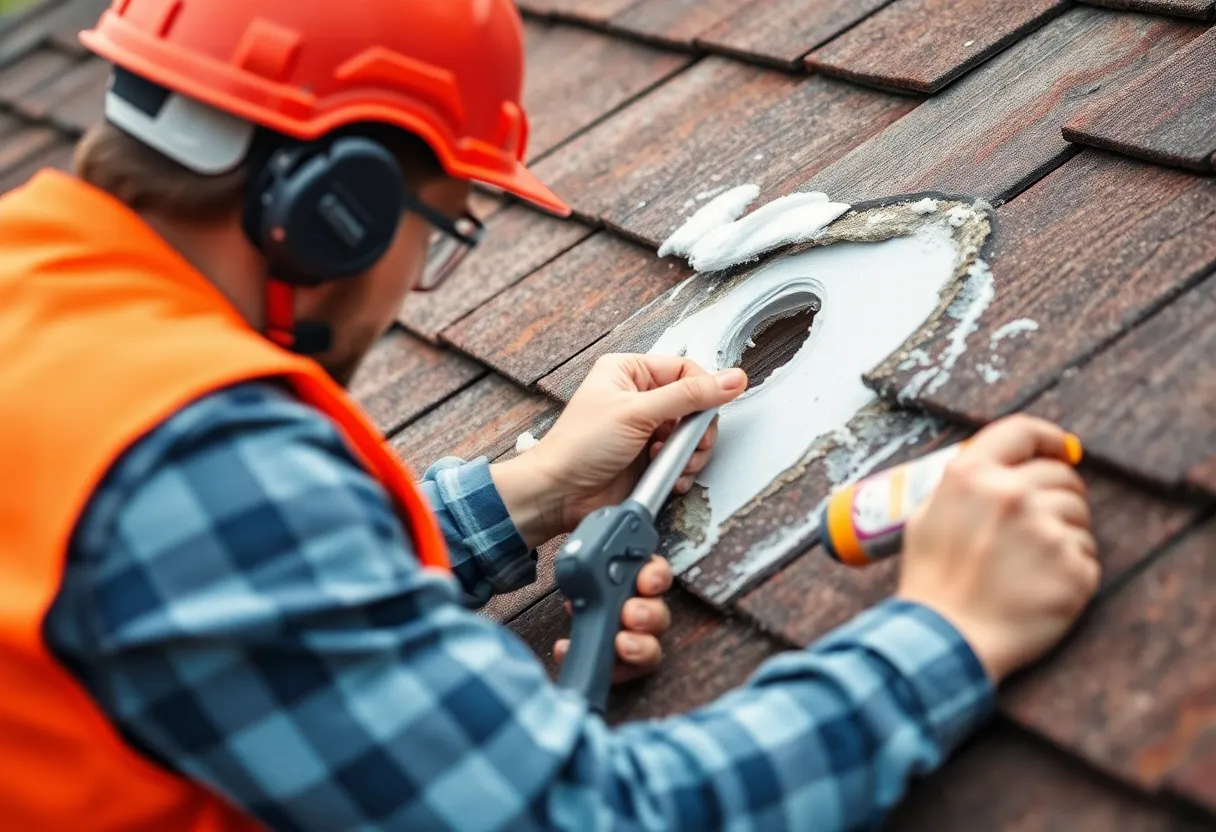
Step 3: Apply Roofing Cement
Using a putty knife, carefully spread roofing cement over the hole:
- Ensure it fills the entire area of the hole.
- Use a generous amount for an effective seal.
Step 4: Add Patching Material
Once you have applied roofing cement, it’s time to patch:
- If using shingles, cut the replacement shingle to fit snugly over the hole.
- For roofing fabric, cut it to size and press it into place.
Step 5: Final Sealing
After placing the patch, apply a thin layer of roofing cement over the top:
- Spread it evenly to ensure complete coverage.
- Allow it to set according to the product instructions.
Post-Patching Considerations
After completing the patch, several considerations arise:
- Monitor the repair: Keep an eye on the patched area over time for signs of leaks or damage.
- Consider painting: If desired, paint the patched area to match your roof, ensuring any paint used is suitable for roofing materials.
When to Call a Professional
While many small holes can be patched by homeowners, some situations necessitate professional help:
- Severe damage: If the hole is larger than a quarter or if several shingles are damaged.
- Structural issues: Signs of sagging or structural weakness indicate a need for expert evaluation.
Conclusion
Patching small holes in your roof can be a manageable DIY task for homeowners. By following the steps outlined in this guide and emphasizing safety, you can effectively repair minor issues and prevent further damage. Remember, regular maintenance and inspections are your best protection against costly roof repairs down the line.
Author: STAFF HERE HILTON HEAD
The HILTON HEAD STAFF WRITER represents the experienced team at HEREHiltonHead.com, your go-to source for actionable local news and information in Hilton Head Island, Beaufort County, and beyond. Specializing in "news you can use," we cover essential topics like product reviews for personal and business needs, local business directories, politics, real estate trends, neighborhood insights, and state news affecting the area—with deep expertise drawn from years of dedicated reporting and strong community input, including local press releases and business updates. We deliver top reporting on high-value events such as the RBC Heritage golf tournament, Hilton Head Island Wine & Food Festival, and the Gullah Celebration. Our coverage extends to key organizations like the Hilton Head Island-Bluffton Chamber of Commerce and Community Foundation of the Lowcountry, plus leading businesses in tourism and hospitality that power the local economy such as Sea Pines Resort and Sonesta Resort Hilton Head Island. As part of the broader HERE network, including HEREAiken.com, HEREBeaufort.com, HEREChapin.com, HERECharleston.com, HEREClinton.com, HEREColumbia.com, HEREGeorgetown.com, HEREGreenwood.com, HEREGreenville.com, HEREHiltonHead.com, HEREIrmo.com, HEREMyrtleBeach.com, HERENewberry.com, HERERockHill.com, and HERESpartanburg.com, we provide comprehensive, credible insights into South Carolina's dynamic landscape.


 Mays Contracting

