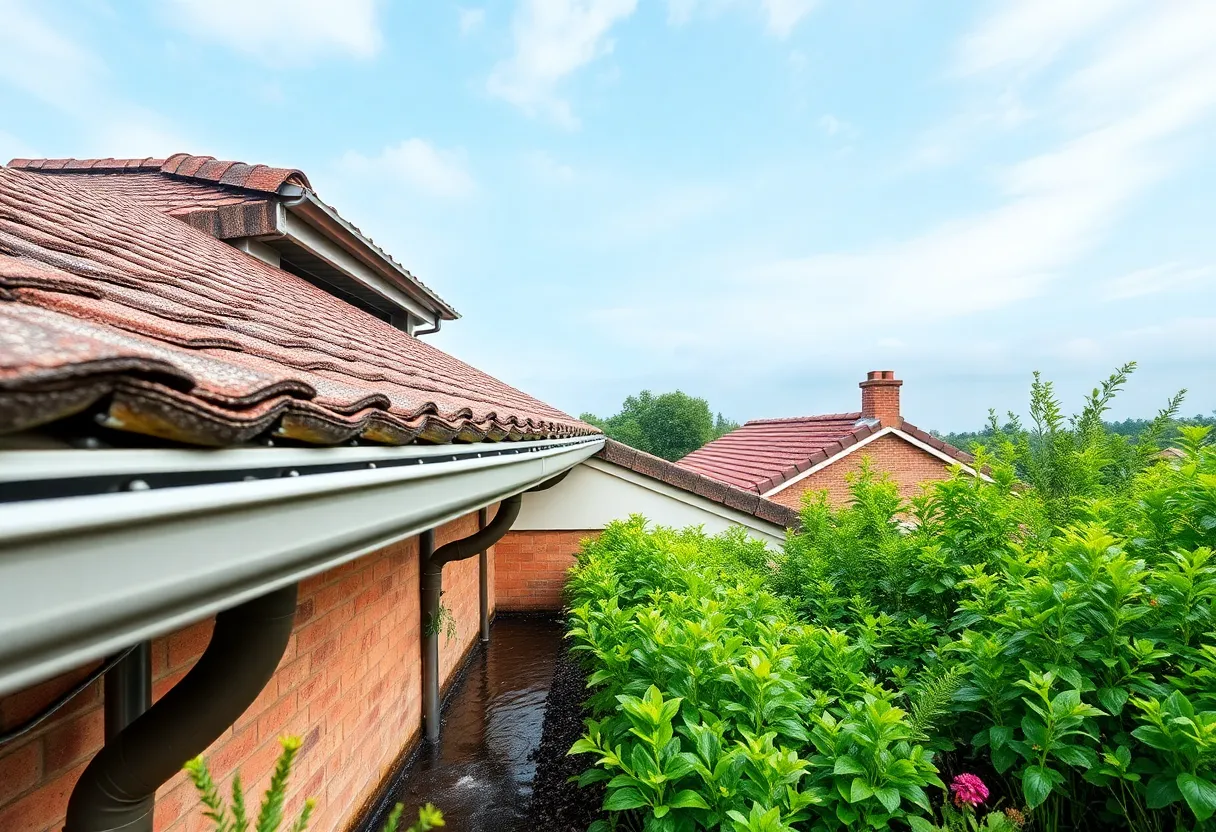
An example of well-installed DIY roof drainage featuring gutters and a rain garden.
Article Sponsored by:
Mays Contracting is more than just a roofing company; it’s a family legacy built on trust and quality. Founded in 1979, we’ve been serving the community for over four decades. Our story began with a simple vision: to provide exceptional roofing services for both residential and commercial properties. This vision has guided us ever since, as we’ve grown from a small, family-run operation to a trusted name in the industry.

Effective roof drainage is crucial for maintaining the integrity of your structure. Without proper drainage systems, roofs can suffer from water pooling, leading to leaks, mold, and even structural damage. This article outlines essential practices to consider when developing DIY roof drainage solutions.
Before delving into solutions, it is essential to grasp the basics of roof drainage. Roof drainage involves directing rain and melted snow off the roof and away from the building. A well-designed drainage system helps to prevent various complications, including:
Different roof types require tailored drainage approaches. Understanding the characteristics of your roof is vital. Below are common roof designs:
Flat roofs often use internal drainage systems, such as:
Internal drainage systems are designed to funnel water to a designated exit point, preventing ponding.
Pitched roofs typically rely on gravity to direct water to gutters that lead runoff away from the foundation. Proper sloping is crucial to ensure efficient flow.
An initial inspection is crucial to identify any existing damage and evaluate the current drainage systems. Check for:
Consider the roof type to select an appropriate drainage mechanism:
Gutters should be appropriately pitched toward downspouts to facilitate effective drainage. A common recommendation is a drop of 1/4 inch per 10 feet. Additionally, downspouts should direct water away from the foundation to prevent erosion and other water-related issues.
Maintenance is key to the longevity of any drainage system. Conduct routine inspections and perform upkeep every season:
Invest in durable materials that can withstand environmental conditions. Galvanized steel and high-quality PVC are excellent choices for gutters and downspouts. These materials offer longevity and resistance to rust and corrosion.
If possible, consider eco-conscious drainage solutions such as:
Before engaging in DIY drainage projects, familiarize yourself with local regulations. Many municipalities have specific requirements for drainage systems, including:
Failing to comply with these regulations can lead to fines or legal complications. Always check for required permits for significant renovations.
When undertaking DIY roof drainage projects, it is essential to avoid common mistakes that can lead to complications:
Establishing an effective DIY roof drainage solution involves a structured approach. By understanding your roof type, assessing existing conditions, choosing appropriate drainage systems, conducting regular maintenance, and adhering to local regulations, you can create a reliable drainage system. Avoiding common pitfalls further solidifies the success of your DIY project. Following these best practices will help safeguard your home from water damage, ensuring long-term durability and peace of mind.
Quality Roof Construction and Repair in Lexington, Richland, Newberry and Laurens Counties for over 40 Years.
How Do I Choose the Right Roof Color for Maximum Energy Efficiency? Choosing the right…
News Summary South Carolina residents are bracing for a significant winter weather event with freezing…
News Summary On March 7, 2025, Brad Sigmon became the first person executed by firing…
News Summary Wilmington has officially become the fastest-growing metro area in North Carolina, showing a…
News Summary Charleston is set to host a vibrant networking event, Business & Brews, at…
News Summary Three men from Bluffton, SC have been arrested on multiple charges of child…